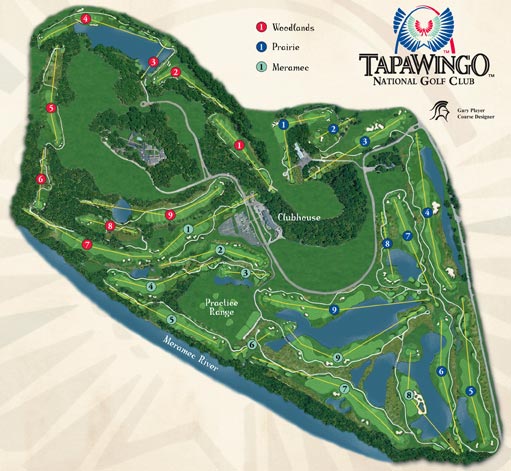
Woodlands
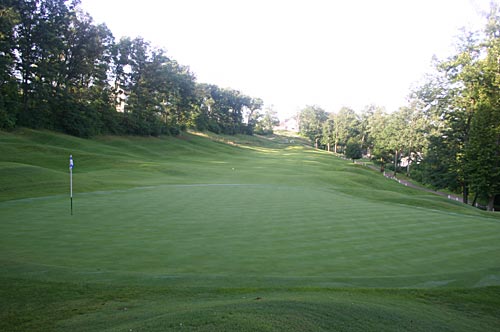
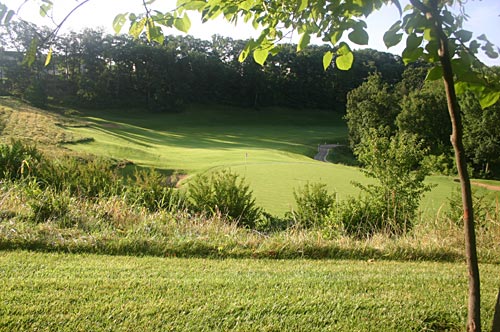
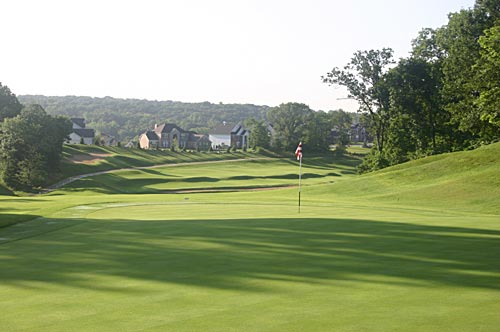
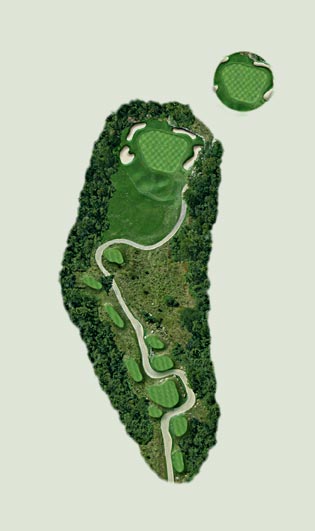
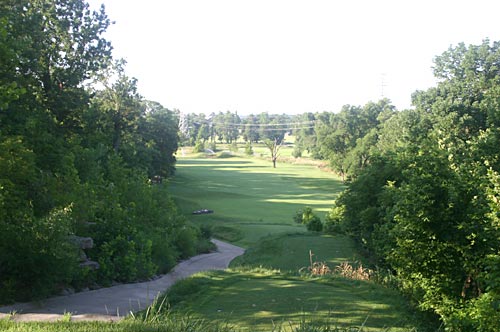
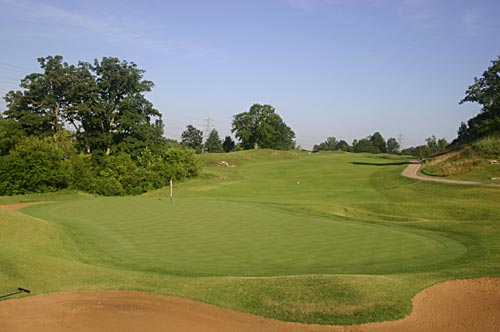
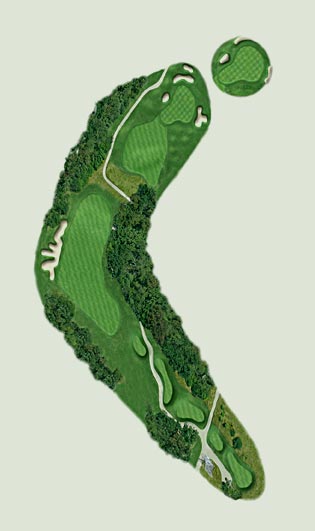
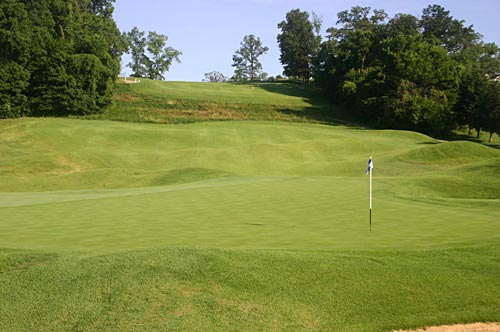
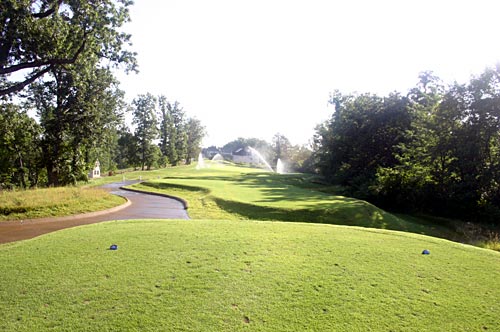
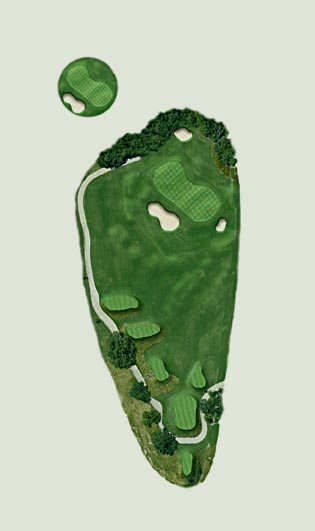
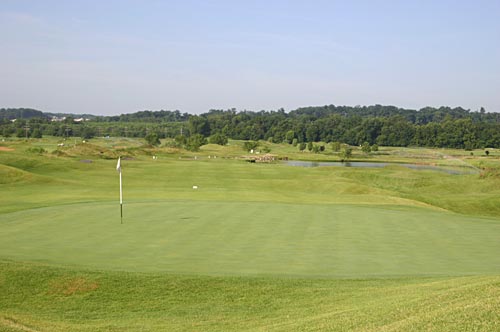
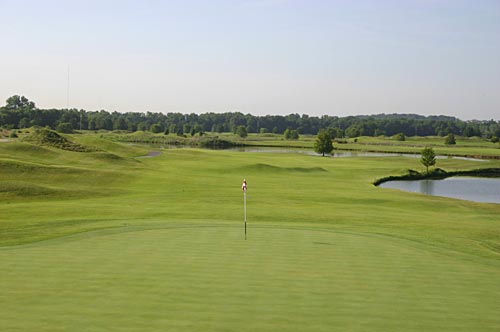
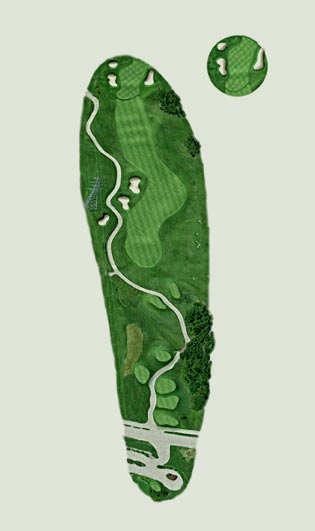
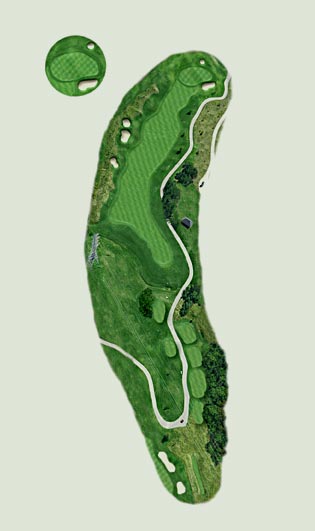
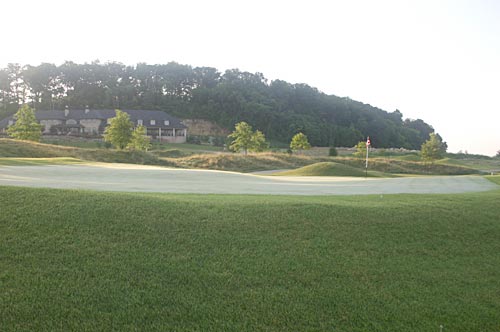
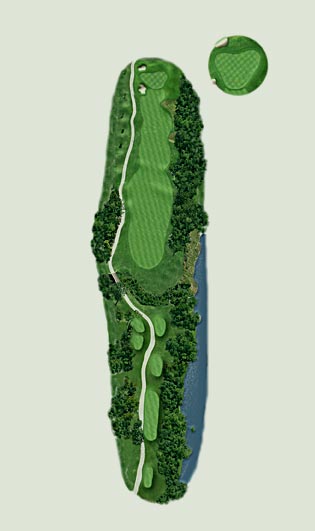
Woodlands Hole 1
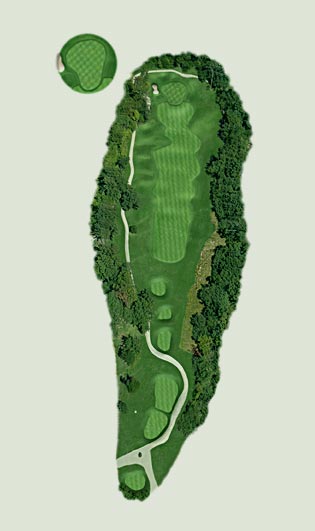
Par 4
| YARDS | 390 | 352 | 326 | 290 | 263 |
| HCP | 7 | 7 | 7 | 7 | 6 |
PRO TIP:
An aggressive play off the tee may lead to trouble. A fairway wood to the right side of the fairway leaves a good chance for birdie on this hole.
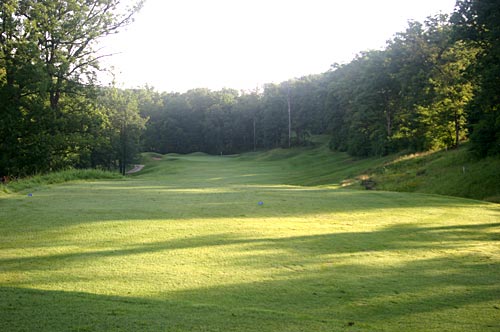
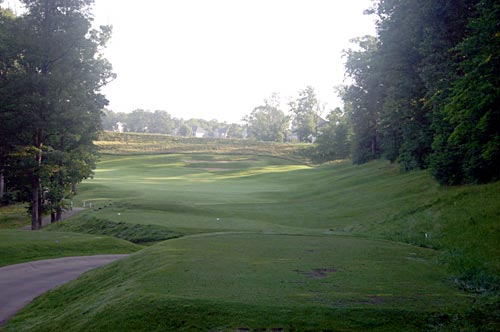
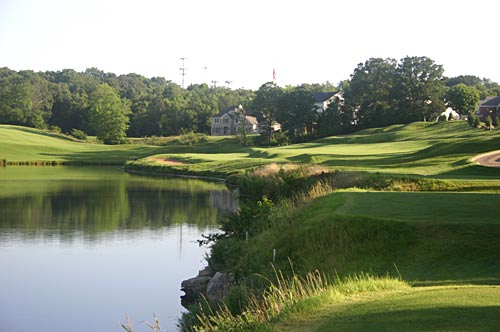
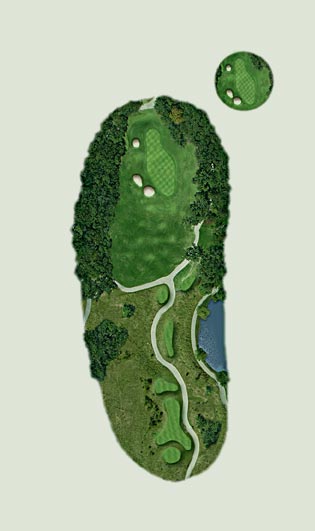
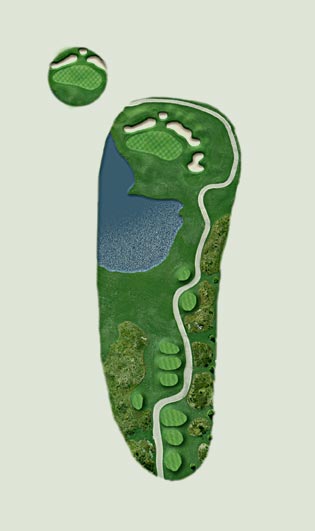
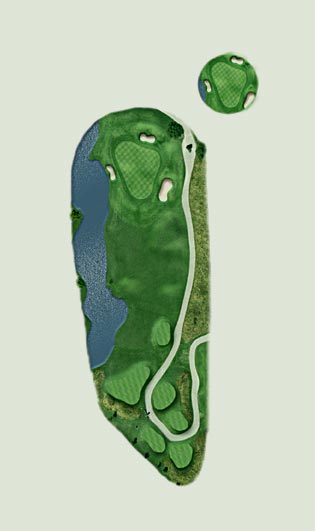
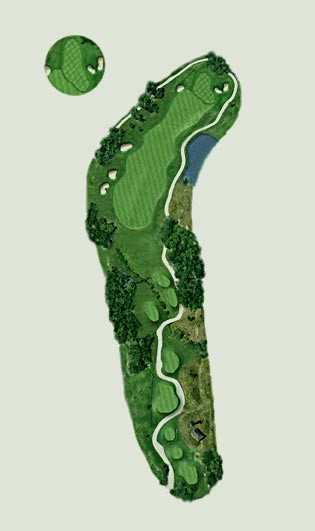
Woodlands Hole 2
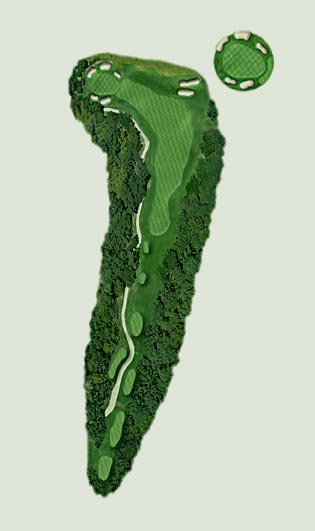
Par 4
| YARDS | 387 | 363 | 333 | 325 | 290 |
| HCP | 5 | 5 | 5 | 5 | 5 |
PRO TIP:
Take enough club to get around the dogleg. Favor the right side off the tee. An sot missed left puts you in jail.
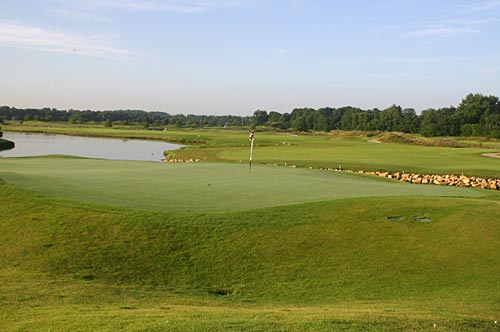
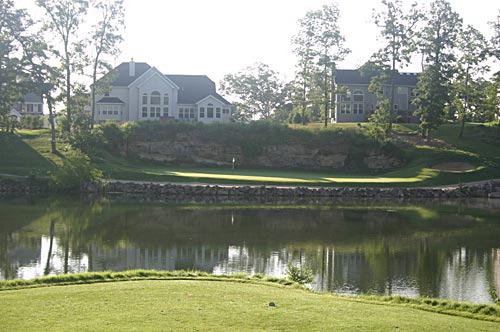
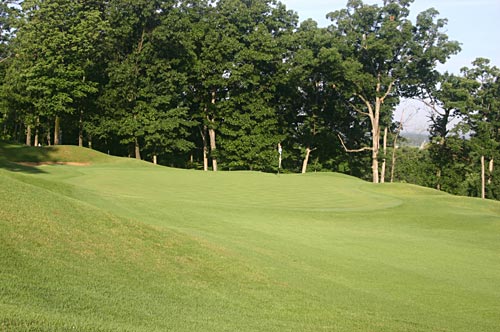
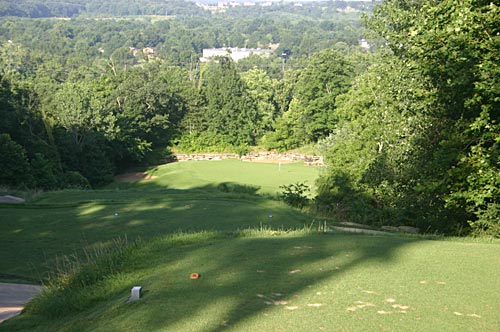
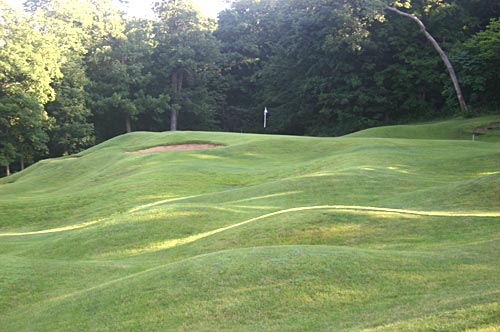
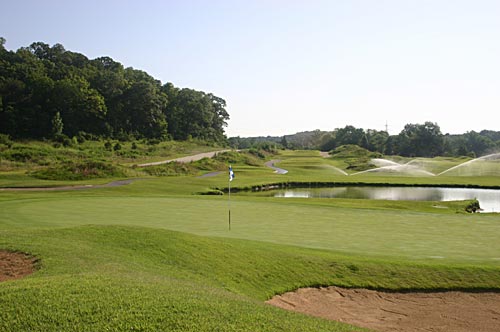
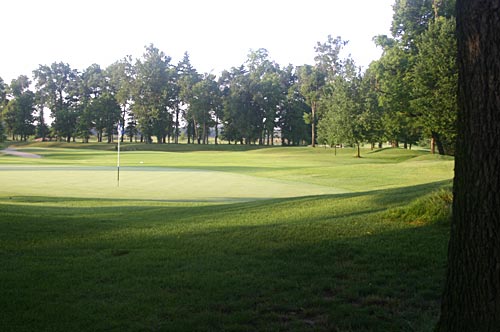
Woodlands Hole 3

Par 3
| YARDS | 190 | 176 | 161 | 140 | 120 |
| HCP | 8 | 8 | 8 | 8 | 7 |
PRO TIP:
On Tapawingo’s Signature Hole, anything landing short of this green comes back into the hazard. Play to the middle of this deep green. Get your par and head to the next tee.
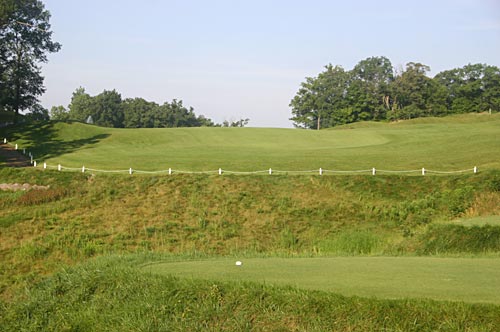
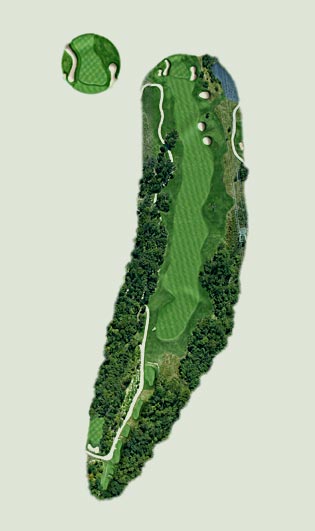
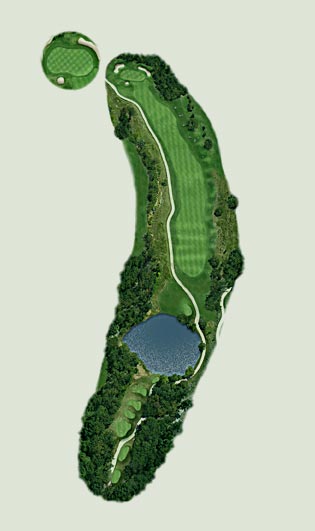
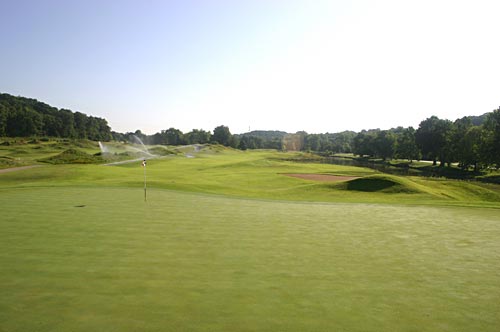
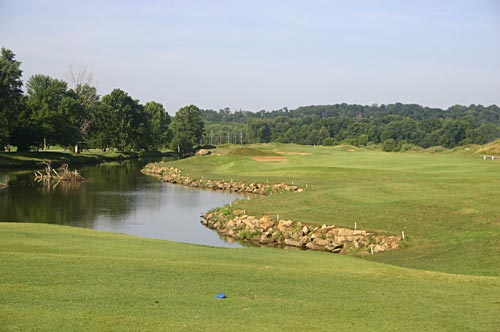
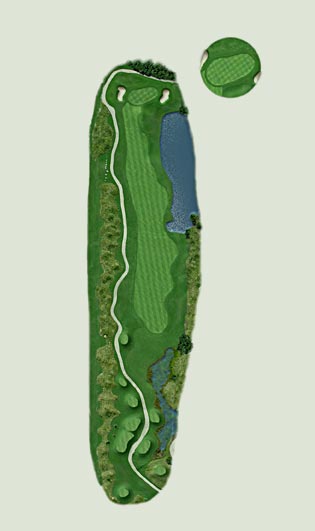
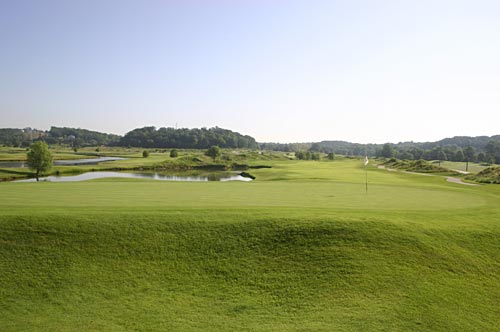
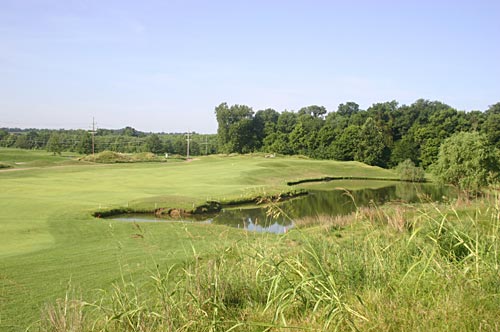
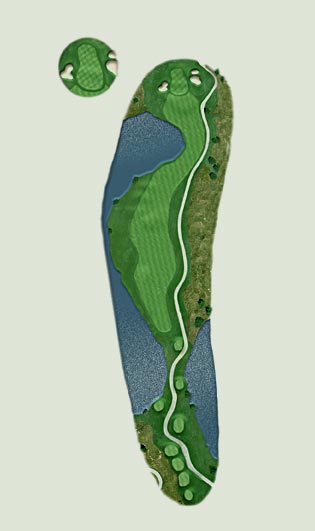
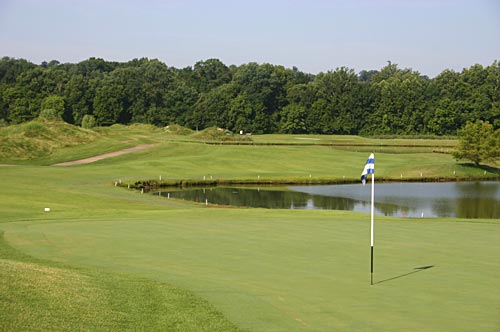
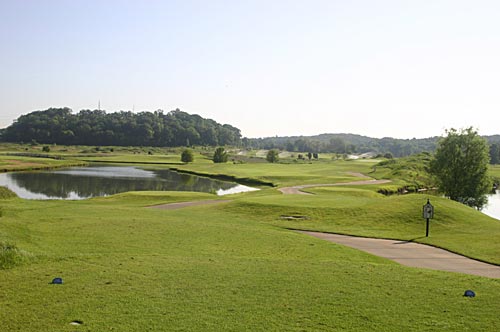
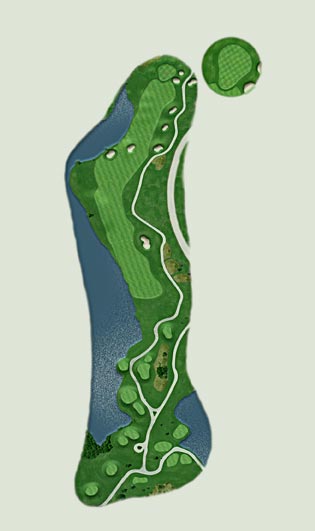
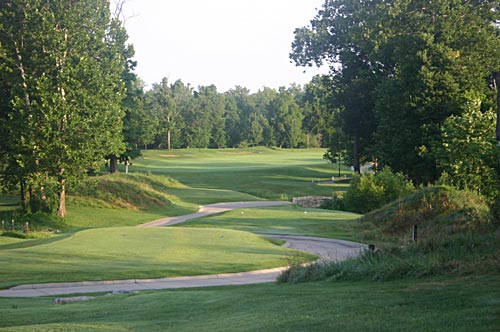
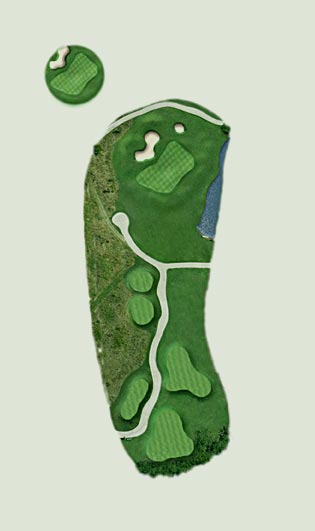
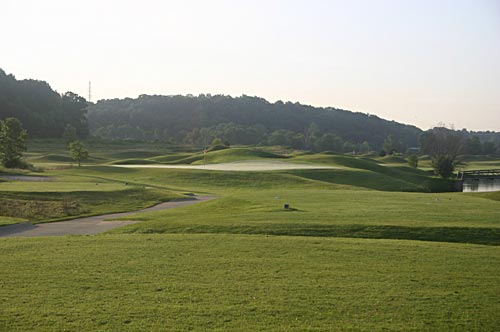
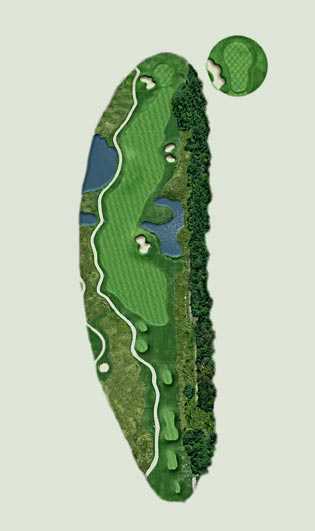
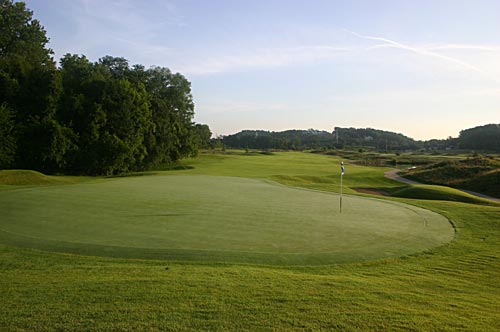
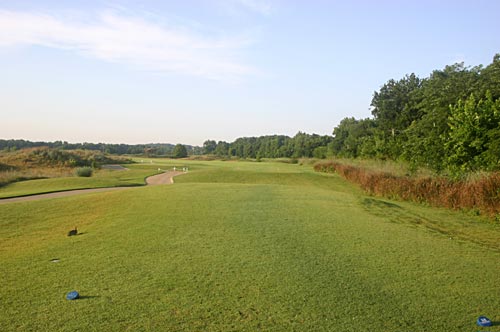
Woodlands Hole 4
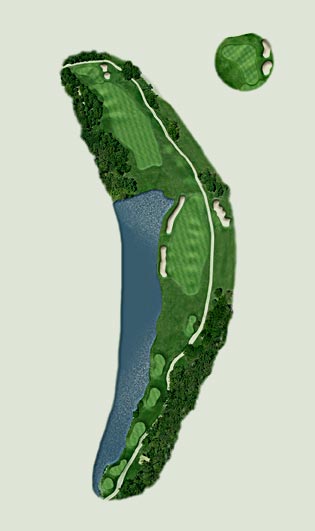
Par 5
| YARDS | 525 | 509 | 473 | 445 | 409 |
| HCP | 3 | 3 | 3 | 3 | 1 |
PRO TIP:
The par 5 plays as a demanding three-shot hole with water left and out-of-bounds on the right. Do not hit your drive through the fairway. Take an extra club on the uphill approach.
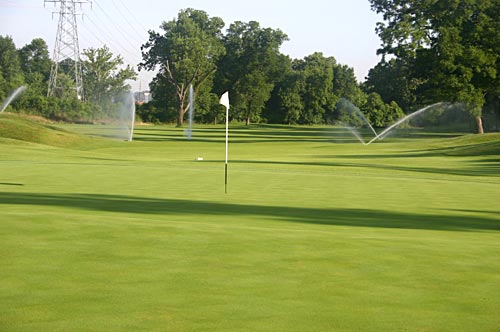
Woodlands Hole 5

Par 4
| YARDS | 456 | 410 | 396 | 380 | 356 |
| HCP | 1 | 1 | 1 | 1 | 2 |
PRO TIP:
Aim your tee shot down the left side of the fairway on this gentle dogleg left. Anything right of the fairway leaves a difficult approach from an awkward lie.
Woodlands Hole 6
Par 3
| YARDS | 208 | 189 | 168 | 153 | 135 |
| HCP | 9 | 9 | 9 | 9 | 9 |
PRO TIP:
Take a moment to enjoy the view before selecting your club. Depending on the wind, this hole can play as much as two clubs shorter than the yardage.
Woodlands Hole 7
Par 5
| YARDS | 585 | 567 | 535 | 514 | 483 |
| HCP | 4 | 4 | 4 | 4 | 4 |
PRO TIP:
A good drive down the right side allows big hitters a chance to get home in two. This hole shares a green with the first hole on the Meramec Nine.
Woodlands Hole 8
Par 3
| YARDS | 210 | 189 | 174 | 158 | 115 |
| HCP | 6 | 6 | 6 | 6 | 6 |
PRO TIP:
Any shots missed right kick back toward this green that is wide in front, but narrows in back. Going left leads to bogey or worse.
Woodlands Hole 9
Par 5
| YARDS | 569 | 542 | 498 | 489 | 472 |
| HCP | 2 | 2 | 2 | 2 | 3 |
PRO TIP:
A good tee shot down the right side sets up a view of this reachable par 5. If you play the hole in three shots, take one less club on your lay-up to avoid the heavy rough on the right side.

Prairie
Prairie Hole 1
Par 4
| YARDS | 400 | 380 | 362 | 339 | 314 |
| HCP | 5 | 5 | 5 | 5 | 6 |
PRO TIP:
Find the fairway with your tee shot. Anything landing in the rough makes it hard to control your distance on the severe drop in elevation from the fairway on this green.
Prairie Hole 2
Par 4
| YARDS | 153 | 125 | 102 | 88 | 75 |
| HCP | 9 | 9 | 9 | 9 | 9 |
PRO TIP:
This three-tiered green sits at a difficult angle. If the pin is on the left side, make sure to take at least one extra club to clear the bunker waiting for any short approach shots.
Prairie Hole 3

Par 4
| YARDS | 410 | 392 | 378 | 363 | 333 |
| HCP | 6 | 6 | 6 | 6 | 5 |
PRO TIP:
On this straight forward hole, the farther you hit the tee shot, the narrower the fairway becomes.

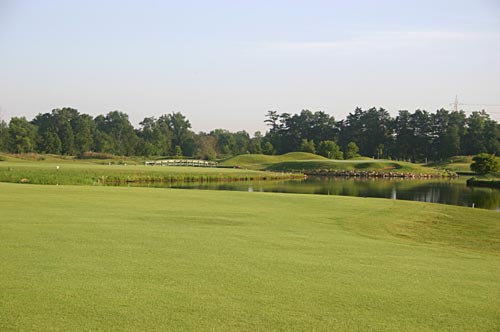
Prairie Hole 4
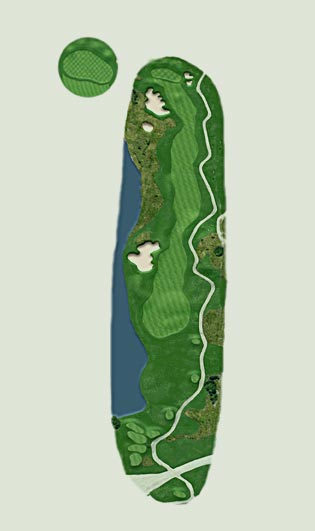
Par 5
| YARDS | 606 | 559 | 549 | 539 | 525 |
| HCP | 1 | 1 | 1 | 1 | 1 |
PRO TIP:
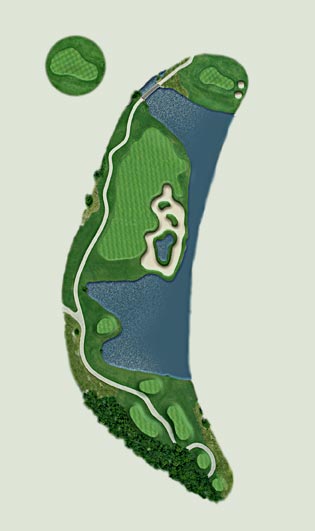
Water borders the left side of this hole with long heather on the right. Lay-up shots missed left will find the long bunker. Two good shots give you the chance to approach this hole with a short iron.
Prairie Hole 5
Par 4
| YARDS | 469 | 414 | 394 | 382 | 363 |
| HCP | 2 | 2 | 2 | 2 | 2 |
PRO TIP:
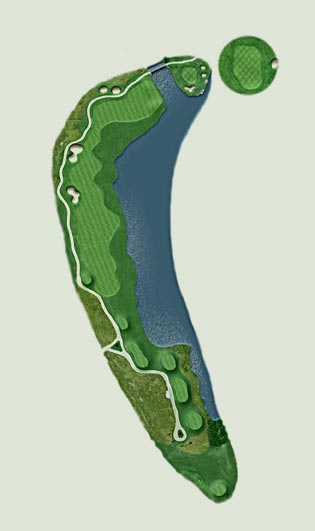
On one of the most demanding tee shots at Tapawingo, water comes into play if you miss your drive long and right. Take an extra club on the uphill approach. Landing short and right of this green leads to trouble.
Prairie Hole 6
Par 4
| YARDS | 439 | 422 | 410 | 386 | 360 |
| HCP | 4 | 4 | 4 | 4 | 4 |
PRO TIP:
Play your drive down the right side of this fairway for the best angle to this difficult, tow-tiered green. Anything long with the pin on the front leaves a tough two-putt for your par.
Prairie Hole 7

Par 4
| YARDS | 394 | 343 | 313 | 306 | 294 |
| HCP | 8 | 8 | 8 | 8 | 8 |
PRO TIP:
This hole offers one of the best chances for birdie on the Prairie Nine. A good drive leaves a short iron to this relatively flat putting surface.

Prairie Hole 8
Par 3
| YARDS | 210 | 195 | 183 | 176 | 165 |
| HCP | 7 | 7 | 7 | 7 | 7 |
PRO TIP:
Water borders the front and left of this windswept par 3. When the pin is left, play toward the center of the green. Anything to the right leaves a tough up and down for par.
Prairie Hole 9
Par 5
| YARDS | 550 | 516 | 504 | 482 | 458 |
| HCP | 3 | 3 | 3 | 3 | 3 |
PRO TIP:
A good tee shot gives big hitters a chance to get home in two. If laying up, be aware of the left side bunkers on your second shot. Two bunkers guard the right side of this green.
Meramec
Meramec Hole 1
Par 4
| YARDS | 398 | 352 | 339 | 325 | 299 |
| HCP | 6 | 6 | 6 | 6 | 6 |
PRO TIP:
A good drive down the right side will get a little extra yardage as the fairway slopes from right to left. A short iron remains to this large, double green.
Meramec Hole 2
Par 4
| YARDS | 376 | 331 | 316 | 292 | 286 |
| HCP | 7 | 7 | 7 | 7 | 7 |
PRO TIP:
Think smart on this tempting tee shot. A fairway wood or long iron may be the best choice on this hole.
Meramec Hole 3
Par 3
| YARDS | 151 | 142 | 135 | 122 | 119 |
| HCP | 8 | 8 | 8 | 8 | 8 |
PRO TIP:
The lake on the left catches miss-hit shots in that direction. Any shot short and right leaves you in a bunker where it is tough to save par.
Meramec Hole 4
Par 4
| YARDS | 402 | 382 | 349 | 322 | 273 |
| HCP | 5 | 5 | 5 | 5 | 5 |
PRO TIP:
Any drive in the fairway leaves a mid to short iron to this unprotected green. Take an extra club for a back pin placement.
Meramec Hole 5
Par 4
| YARDS | 446 | 409 | 390 | 357 | 335 |
| HCP | 1 | 1 | 1 | 1 | 1 |
PRO TIP:
The Meramec River borders this hole on the right, while out-of-bounds looms left. Take your par and move on to the next tee.
Meramec Hole 6
Par 3
| YARDS | 152 | 140 | 129 | 114 | 80 |
| HCP | 9 | 9 | 9 | 9 | 9 |
PRO TIP:
Miss this green right and you’ll find the water. If you face a right side pin location, play to the middle of this green.
Meramec Hole 7
Par 5
| YARDS | 568 | 539 | 506 | 441 | 409 |
| HCP | 3 | 3 | 3 | 3 | 3 |
PRO TIP:
A drive left of the fairway bunker leaves a good angle on your second shot. For those trying to reach in two shots, trouble awaits with woods right and long grass left.
Meramec Hole 8
Par 4
| YARDS | 384 | 368 | 348 | 311 | 269 |
| HCP | 4 | 4 | 4 | 4 | 4 |
PRO TIP:
A large fairway bunker with a water hazard lying within awaits any tee shot hit short and right. The approach plays over water to a shallow elevated green.
Meramec Hole 9
Par 5
| YARDS | 616 | 543 | 517 | 484 | 469 |
| HCP | 2 | 2 | 2 | 2 | 2 |
PRO TIP:
A good tee shot to the fairway tempts many players to go for the green in two. Anything short, right or long on the approach will find water. If you lay up, a short iron third shot remains.